Behind the Scenes: My Office Transformation

This office transformation has been a labor of love. From assembling furniture to painting walls, every step has brought me closer to creating a space that feels uniquely mine.

Want a behind-the-scenes look at how this space came together? Check out this video where I share the process, challenges, and little victories that made this transformation so special. From unboxing furniture to some of the final touches, it’s all here!

Have you ever looked at a blank space and felt completely overwhelmed? I know the feeling! But here’s the good news: creating a space you love doesn’t have to be stressful—or expensive.

Today, I’m taking you behind the scenes of my office transformation to show you how I made it happen, step by step. From budget-friendly DIY hacks to personal touches that make the space uniquely mine, I’ll share everything I learned along the way.

Hi, I’m Carrissa Hickey, owner and designer of Lavish Interiors & More. With over 20 years of experience in high-end residential architecture, custom home building, and interior design, I’ve helped countless clients create beautiful, functional spaces. Now, I’m sharing the story of my own office makeover—complete with tips, tricks, and a little help from my family.

Shop the Look

This post contains affiliate links. As a participant in the Amazon Services LLC Associates Program, I may earn a commission from qualifying purchases made through these links, at no additional cost to you.

Here are the exact pieces I used in my office transformation:

  • Standing Desk: Amazon
  • Modern Organizer Hutch (Monitor Stand): Amazon
  • Modern Walnut Lateral File Cabinet: Amazon
  • Modern Walnut Storage Cabinet: Amazon
  • Fluted Sideboard Storage Cabinet: Amazon
  • 3 Sideboards to Create One Large TV Console: Amazon
  • Black Conference Table: Wayfair Link Coming Soon
  • Black Leather Chairs with Walnut Backs: Wayfair Link Coming Soon
    • Shop Similar Chairs on Amazon
  • Nathan James Barstools: Amazon
  • Rug under Conference Table: Amazon
  • Rug under Main Workspace: Amazon

What You’ll Learn in This Blog

In this behind-the-scenes look, you’ll discover:

  • How to set the tone for your space with foundational pieces
  • Creative DIY hacks to save money and customize your office
  • Tips for adding personal touches that make your space uniquely yours

Let’s dive in!

Laying the Foundation: How I Designed a Cozy, Functional Office

When I first walked into my new office, I knew I wanted to create a cozy, functional sanctuary. My goals were clear:

  • A main workspace for productivity
  • A conference area for client meetings
  • A design that felt warm, modern, and inviting

Starting with the Basics: Rugs and Furniture

The foundation of the space began with two oversized area rugs. These rugs not only coordinated beautifully but also set the tone for the warm, modern vibe I envisioned.

Next, I upgraded my workspace with:

After some searching, I found a stunning modern walnut filing cabinet and a matching storage cabinet—both with glowing reviews. To complete the setup, I added a hutch from the same collection that doubles as a monitor stand.

While the front desk had the cost and style I wanted, it didn’t quite meet my quality expectations. My solution? A custom glass top to prevent scratches and elevate the overall look. The result? A polished, functional workspace I absolutely love!

DIY Office Hacks: Budget-Friendly Solutions for a Custom Look

The Oversized TV Console Hack

Finding a media console that fit my needs was a challenge. Most options for 60-inch+ TVs were either too small or way over budget. So, I got creative! I lined up three sideboard storage cabinets end-to-end to create a long, oversized console.

This DIY solution not only saved money but also gave me the perfect proportions for the space.

Pro Tip: If you try this, make sure the sideboards have flat sides so they sit flush together. Avoid pieces with overhangs or bumps near the legs, as they won’t align properly.

Tying in the Conference Table, Chairs & Storage Cabinets

The next big piece was a modern black conference table. I wanted a neutral backdrop for reviewing wood, tile samples, and colorways. Paired with black leather chairs with walnut backs, the table ties the room together beautifully.

To complement the setup, I added black slatted-door storage cabinets with walnut tops. These pieces perfectly balance the black and walnut tones throughout the space.

Finishing Touches: Paint, Barstools, and Stylish Details

The Black Accent Wall

One of my favorite parts of the transformation was painting the black accent wall. Before starting, I wrote a prayer directly onto the wall—a heartfelt expression of gratitude and purpose for this space. Some of the letters dried faster than expected, leaving faint marks that I now cherish as a reminder of this journey.

Barstools for the Standing Desk

Thanks to a collaboration with Nathan James, I added modern barstools to my standing desk. They’re stylish, comfy, and have quickly become my go-to seating option.

Painting Doors and Frames

To complete the look, I sanded and painted the door frames and doors with multiple layers of black paint. This simple, budget-friendly update added depth and drama to the space, giving it a polished, intentional feel.

Reflecting on the Journey: Thankful for My Family

This office transformation has been a labor of love. From assembling furniture to painting walls, every step has brought me closer to creating a space that feels uniquely mine. While I tackled much of this project on my own, I couldn’t have done it without the help of my family.

A huge thank you to my sister-in-law, Amy, for being my go-to partner for assembling the furniture pieces. Your teamwork made all the difference!

To Josh, my bonus son, thank you for building a custom computer tailored to my design needs. It’s been a total game-changer, and your talent amazes me!

To my mom, thank you for helping me clean the space and install the wallpaper. Your help meant so much to me!

And to my husband, John, thank you for your unwavering support—helping with our family, all the heavy lifting, and keeping me grounded through the challenges. I’m so grateful to have you by my side.

I couldn’t be more thankful!

Ready to Transform Your Space?

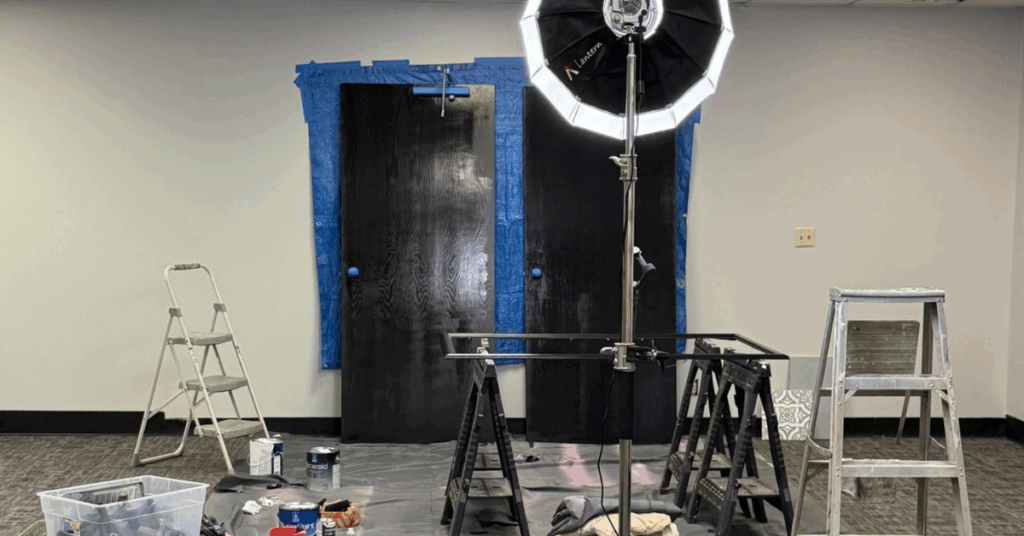
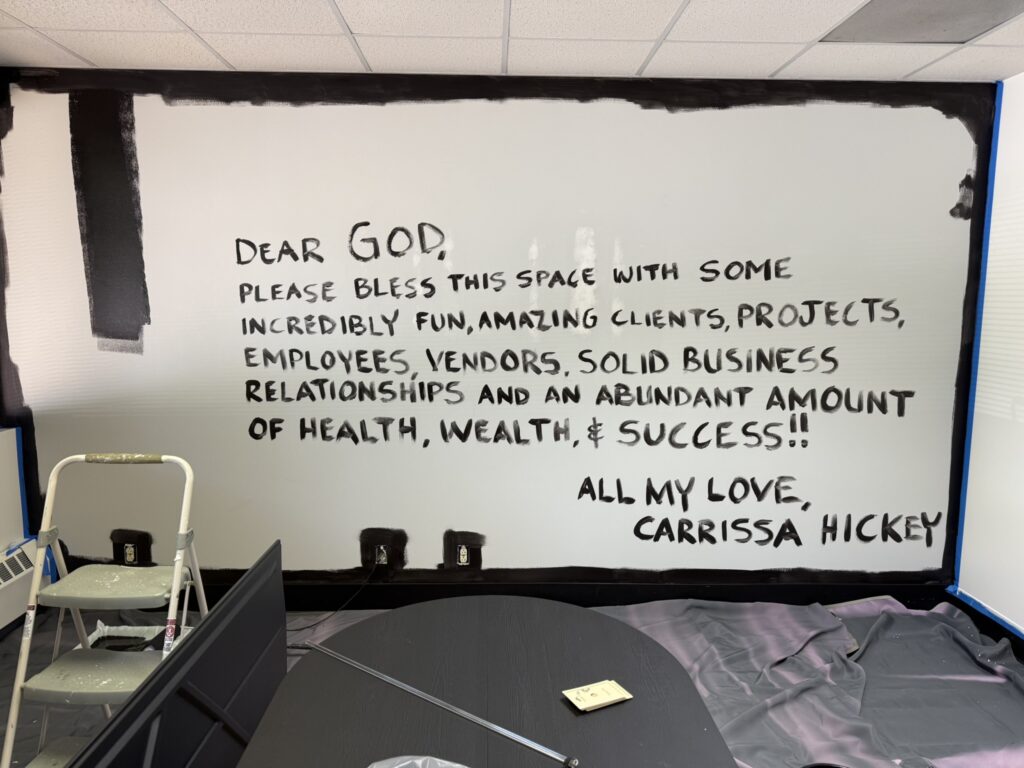
If you’re feeling overwhelmed by a design project, remember: start small, stay consistent, and don’t be afraid to get creative. With a little effort and a lot of heart, you can create a space you truly love.

Feeling inspired to tackle your own design project? Whether you’re looking for ideas, need help getting started, or want to collaborate, I’d love to connect! Check out my YouTube channel to see what we’re currently working on, get behind-the-scenes looks, and find even more inspiration for your next project. Or, reach out through my Contact Me page—I’d love to hear from you!

📞 Contact Me: https://lavishinteriorsandmore.com/contact/
🎥 YouTube: https://www.youtube.com/@lavishinteriorsandmore

Thank you for following along on this journey! I’d love to hear about a project you’ve tackled—share your story in the comments!

Leave a Reply

Your email address will not be published. Required fields are marked *

Where to Next?

Scroll to Top