

If you’ve been following our story, you know I recently installed peel-and-stick wallpaper in my new office to create a fun, funky vibe—and as a beginner, I wanted to share my experience to show that anyone can do it! I’ll admit, I was a little intimidated to tackle it on my own, so I asked my mom to help. Together, we transformed the space in just one afternoon, literally in less than 4 hours, and it turned out to be such a rewarding project!
In this guide, I’ll walk you through everything I learned—from step-by-step instructions to the pro tips that made the process smoother. Whether you’re a DIY newbie or a seasoned decorator, these insights will help you tackle your own wallpaper project with confidence and ease!
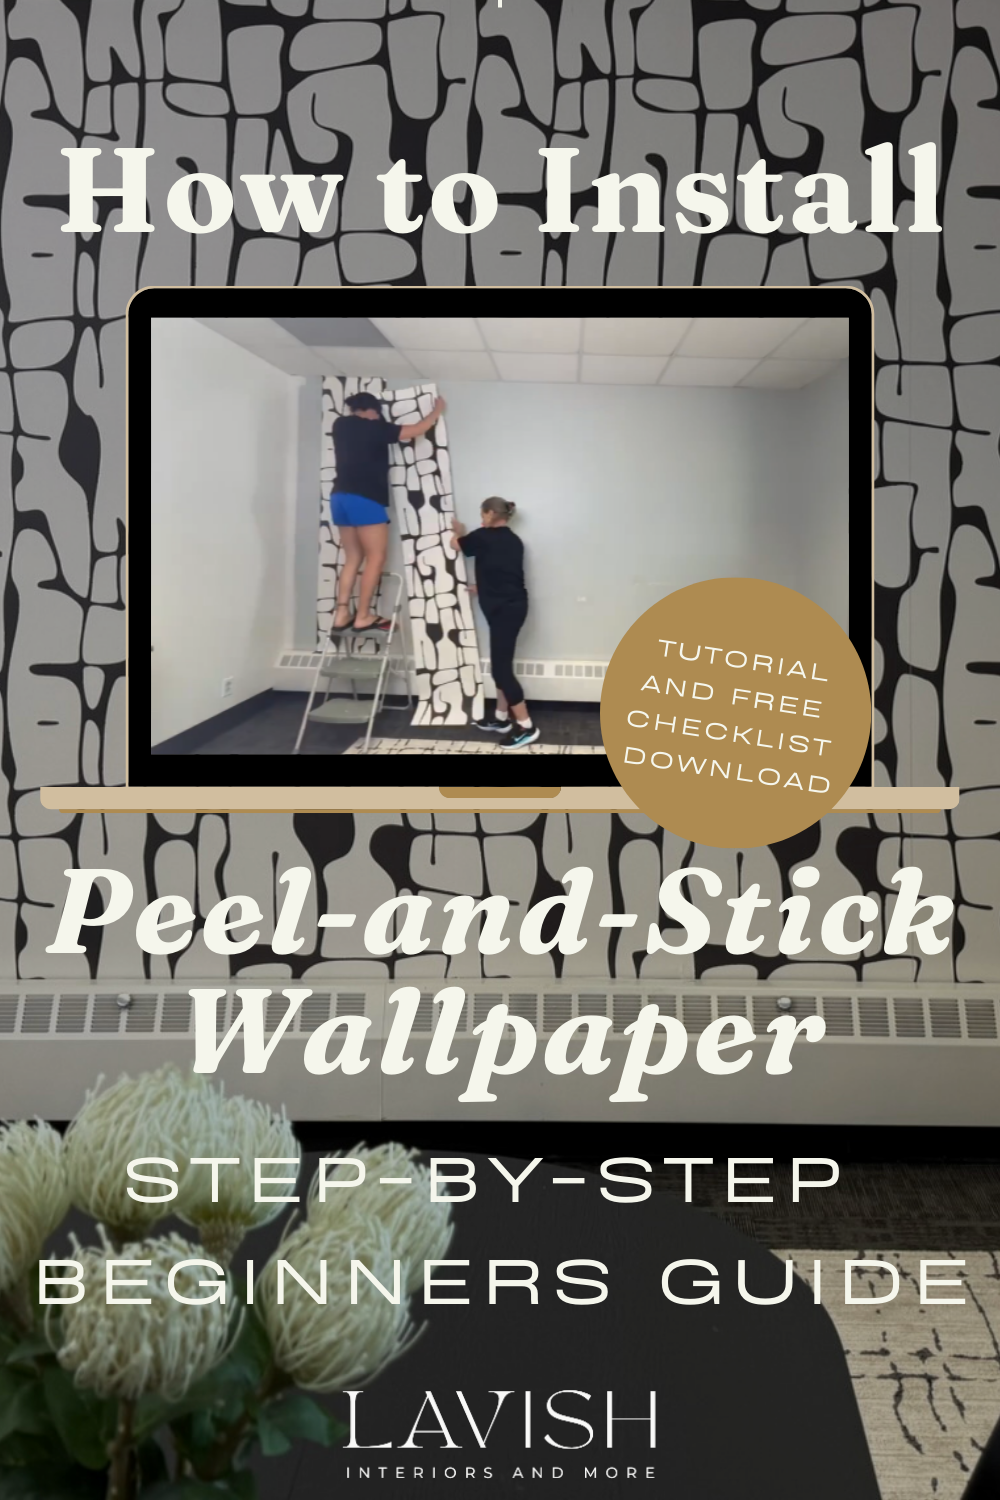
Ready to get started? Be sure to check out my YouTube video, How to Install Peel-and-Stick Wallpaper: A Beginner’s Guide, where I share a time-lapse of the entire process. It’s the perfect way to see just how doable (and fun!) this project can be!
Why Choose Peel-and-Stick Wallpaper?
Before we get into the “how,” let’s talk about the “why.” If you’re on the fence about trying this DIY project, here’s what convinced me to go for it:
It’s bold, transformative, and leaves a lasting impression. It instantly elevated the space, transforming plain walls into a statement feature that reflects the warm, modern style I envisioned. It was the perfect way to add character and creativity without the need for a major renovation!
It’s temporary. Renting my office space meant I needed a way to personalize the room without upsetting property management or making permanent changes. Peel-and-stick wallpaper was the perfect solution—it’s easy to remove whenever you’re ready for a new look or when it’s time to move out, all without leaving a trace on the walls.
It’s beginner-friendly. You don’t need to be a DIY pro to achieve great results. The process is straightforward, and if you make a mistake, you can simply peel it back and reposition it. This flexibility was a game-changer for me as a first-timer.
It’s mess-free. Forget about mixing paste or dealing with sticky glue. All you need is the wallpaper and its backing paper. Clean-up is as easy as tossing the scraps. This was a huge bonus for me since I was working in a fully furnished, finished room.
It’s budget-friendly. Not only did I save money by doing it myself, but peel-and-stick wallpaper is an affordable way to make a big impact without breaking the bank.
These reasons made peel-and-stick wallpaper the perfect choice for my project—and I’m so glad I gave it a try!
Prepping for Success: Tools and Tips for Peel-and-Stick Wallpaper
A smooth project starts with good preparation. Taking the time to plan your wallpaper project is the most important step to ensure a flawless finish. Proper planning sets the foundation for success, helping you avoid common mistakes and making the entire process feel less intimidating and more rewarding.
Choose the Perfect Wallpaper for Your Space
The first step in your wallpaper journey is finding a design you absolutely love. Ordering samples is key to confirming that the colors, pattern, and texture will work in your space.
For my project, I found the perfect wallpaper on Etsy from the Jumanjii Shop. They were incredibly helpful in calculating how much I needed, and their pre-cut strips made installation so much easier.
As a designer, I also have access to exclusive brands that aren’t available to the general public. Plus, the discounts I can pass on to you often cover the cost of my services. If you’re looking for help sourcing the perfect wallpaper for your space, I’d love to assist!
Calculate Your Wallpaper Needs
One of the most critical parts of planning is figuring out exactly how much wallpaper you’ll need. Ordering too little could leave you with an unfinished wall, while ordering too much might mean dealing with costly, non-returnable rolls.
Start by measuring your wall’s height and width, then check the roll size and coverage details from your wallpaper company. Many brands offer calculators or charts to help. Add 10–15% extra for pattern matching and mistakes—it’s better to have a little leftover than to run out mid-project.
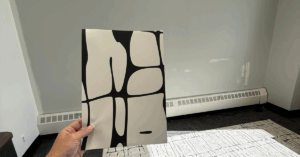
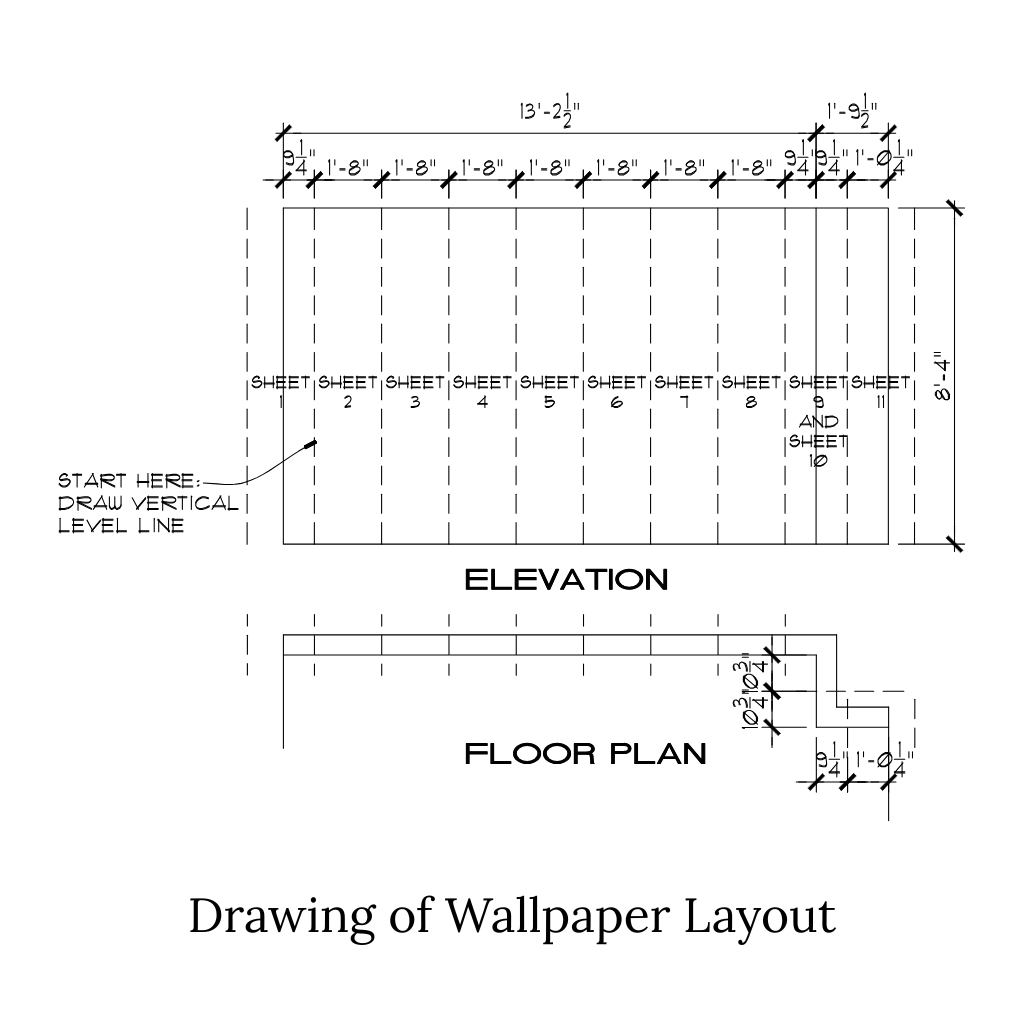
I like to take it a step further by drawing the wall to scale, including the wallpaper’s width, to plan the layout. This helps center the design and ensures balance on both sides. See the picture below of my drawing, which shows how I mapped out the design after measuring and determining the wallpaper placement.
Pro Tip: Always extend the wallpaper slightly past corners, the ceiling, and the baseboard to account for uneven walls—this makes trimming easier for a perfect fit.
Just a reminder, you can see how I did this in the time-lapse video on my YouTube tutorial. Now, once your order is placed, gather the following essential supplies, prep your wall(s), and you are ready to rock. With the right prep, you’re set for a smooth installation!
Essential Tools:
Thumb Tack: For tiny bubbles that won’t smooth out.
Tape Measure: Don’t guess. Measure your wall’s height and width to calculate how much wallpaper you need. Always buy a little extra (about 10-15%) to account for mistakes and pattern matching.
Level or Plumb Line: This is non-negotiable for getting your first piece perfectly straight.
Pencil: For marking your guidelines on the wall.
Utility Knife or Craft Blade: Make sure it’s sharp for clean cuts.
Smoothing Tool: A plastic smoother or squeegee is essential for pressing out air bubbles. Some people even use a credit card in a pinch.
Step Stool or Ladder: Unless you’re very tall, you’ll need this.
Metal Meter Stick: I would have used it to cut the panels (but mine were already cut) and trim the excess at the end.

Wall Preparation:
Before you start, take a close look at your walls. Any bumps or imperfections will show through the wallpaper, so it’s worth the extra time to scrape or sand them smooth. My walls were in pretty good shape, but I still sanded in some areas to be sure.
Once the surface is smooth, wipe down the wall with a mixture of dish soap and water to remove any dust, grime, or residue. This step ensures the wallpaper adheres properly. For the best results, be sure to let the wall dry completely before you start applying the wallpaper.
Step-by-Step Guide to Installing Peel-and-Stick Wallpaper
Now that you’ve chosen your wallpaper, calculated your needs, gathered your tools, and prepped your walls, it’s time for the fun part! Here is the exact method I used to hang my wallpaper, along with a few personal notes on what worked and what I’d do differently next time.
Step 1: Get Your Wallpaper Ready
Most wallpaper comes in a tight roll and wants to curl up, which can be a hassle during installation. If you have the space, unroll your wallpaper panels and lay them flat on a clean surface, such as a floor or table. I did this the night before, which let the paper relax and made everything easier to handle the next day.
For my project, I used pre-cut strips from the Jumanjii Shop on Etsy, and they came numbered on the back—which was such a time-saver. I laid the panels out in order on the floor and lined up the pattern edges. Seeing the full design come together ahead of time not only made me feel confident, but it also made the actual installation go much smoother!
Pro Tip: If your wallpaper isn’t pre-cut, now’s the perfect time to measure and cut it into panels. Here’s how:
- Start by cutting your first piece. Be sure to add a couple of extra inches at the top (to go past the ceiling) and at the bottom (to go past the floor).
- Next, unroll the wallpaper and place it next to the first piece (while keeping it on the roll). Align the pattern to find the perfect match.
- Once the pattern lines up, cut the second piece to the correct length, again adding a few extra inches at the top and bottom.
Step 2: Measure and Draw Your Guideline
Grab your wallpaper layout planning drawing—it will help you easily see where each panel belongs and measure your starting point (check my example above in the “Calculating Your Wallpaper Needs” section).
Instead of starting right in the corner, begin just beside it. I prefer to work from left to right, but if you’re left-handed, feel free to reverse it—just do what feels most comfortable. Use a level to draw a straight vertical line as your guide for the first strip. Taking your time on this first line is key, since it keeps all your panels straight as you go.
Step 3: Peel and Align
Starting with the first piece can feel intimidating because everything else depends on it being straight. Take your time. Get on your step stool and peel back only the top 12–24 inches of the backing paper. Don’t remove the whole backing at once, or the wallpaper will stick to itself and make things tricky.
If you have a helper, now’s the time to get them involved. Ask them to hold the bottom section of the strip so the wallpaper doesn’t stick to the wall or itself before you’re ready.
Let the top edge of the wallpaper hang just over the ceiling by at least an inch or two. Carefully line up the side of your wallpaper with the pencil line you drew. Once everything looks straight, press the exposed top section onto the wall. Working slowly and carefully here makes the rest of the process much easier.
Step 4: Smooth and Continue
Now, work your way down the wall. Use one hand to slowly and evenly pull the backing paper down from behind the roll. Use your other hand to press the wallpaper onto the wall with your smoothing tool.
My technique was to smooth from the center out to the edges. This pushes any air bubbles toward the sides where they can escape. Go slowly and methodically. If a large bubble or crease appears, gently peel the wallpaper back to that point and re-apply it.
Step 5: Matching the Pattern
Apply the second piece just like you did the first, but this time, use the edge of the previous piece as your guide.
Some wallpapers allow for overlap, but with ours, the overlap was noticeable. So, we carefully butted the edges right up against each other, making sure to match the pattern as we went.
Once aligned, smooth it down just as you did with the first piece for a flawless finish!
Step 6: Trim the Excess
With all your wallpaper in place, it’s time to trim the excess. Using a sharp utility knife and a straight edge (like your smoothing tool), carefully cut along the creases where the wall meets the ceiling, baseboard, or even a wall heater. A sharp blade ensures clean, professional edges. Don’t forget to trim around outlets, windows, and other tricky spots for a flawless finish.
My Biggest Lessons Learned
A step-by-step guide is great, but the real wisdom comes from experience. Here are a few things I discovered along the way:
- Prep is everything. Taking the time to properly clean and smooth your walls before starting made a huge difference. Dust, bumps, or uneven surfaces can cause issues later, so don’t skip this step. A little extra prep time saved me a lot of frustration during installation.
- Bubbles are inevitable, but fixable. No matter how careful I was, small air bubbles appeared. Don’t panic. For tiny bubbles, I found that I could prick them with the very tip of my utility knife and then press the air out with my finger. You can’t even see the pinprick.
- Lighting matters. I learned that good lighting is key when aligning patterns and spotting bubbles or creases. Working in dim light made it harder to catch mistakes until it was too late, so I made sure to have plenty of light as I worked.
- Patience is your best tool. When I rushed through corners, I ended up with a couple of creases, patterns started to misalign, and it even began to create larger bubbles. But peeling it back up, taking a deep breath, and slowing down made all the difference, saving me from bigger headaches. Remember, projects like these are a marathon, not a sprint!
This DIY project was one of the most rewarding I’ve ever tackled! It completely transformed the feel of my office with minimal cost and effort. While it wasn’t perfect and had its frustrating moments, the final result was absolutely worth it.
If you’re looking for a high-impact, low-commitment way to refresh your space, I can’t recommend peel-and-stick wallpaper enough. And if you’re struggling to choose the perfect design, feel free to reach out—I’d love to help!
Now It's Your Turn!
Feeling inspired? I hope this guide has shown you just how achievable a beautiful wallpaper transformation can be. Now, I would love to see what you create!
Tell us about your experience in the comments or tag me on social media @lavishinteriorsandmore —I’d love to see your results!
Love this transformation? Pin it to your Inspiration Board!